
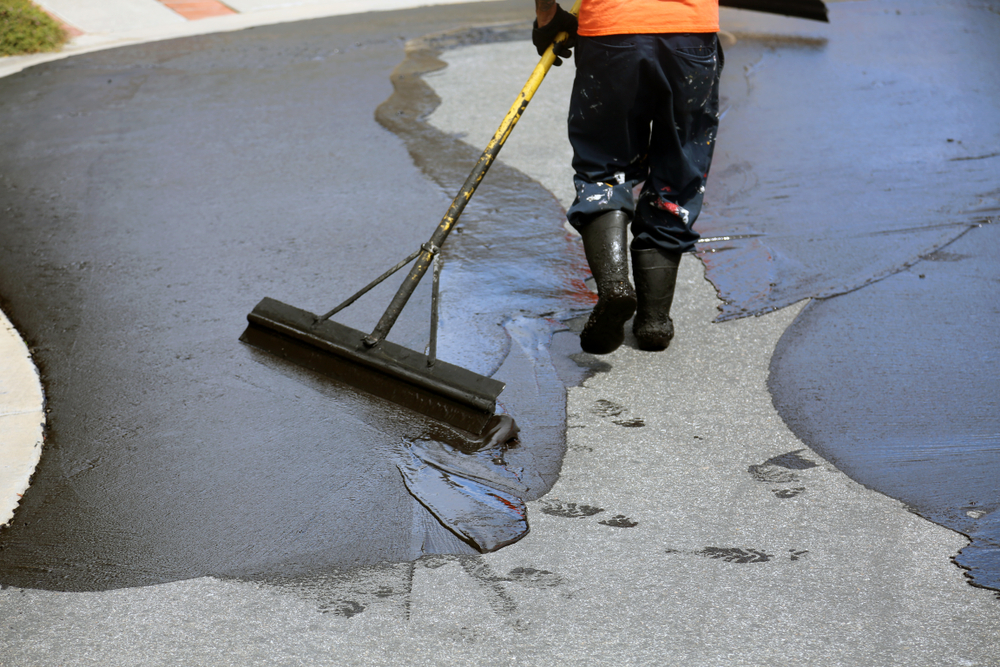
If you need to schedule commercial sealcoating to preserve your asphalt surface at your business in Philadelphia, PA, it’s important that you choose the right professionals to complete the job to ensure the highest quality work and most aesthetic results. Professional sealcoating will protect your asphalt surface and your investment, while also preventing you from having to complete costly repairs sooner than necessary.
Read the rest of this entry »
Asphalt is an incredibly durable material, but eventually, you might notice small cracks, potholes, or soft spots developing. Areas that have cold and wet winters, such as Philadelphia, PA, put the surface under particular strain. The good news is that you don’t need to replace the whole surface, as asphalt patch work can usually rectify the problem. When carried out by experienced professionals, patch work protects the integrity of the asphalt and ensures durability.
Read the rest of this entry »If you’re interested in installing a sports court in Philadelphia, PA, you will need a company that can lay down the surface and apply the sport court striping to ensure an aesthetic finish and the correct boundary lines for safe and uninterrupted gameplay. When you find a company that is skilled and experienced in creating, maintaining, and striping sports courts, you will get the best final product and enjoy long-lasting results.

One of the easiest ways to determine whether or not your sports court needs to be restriped is by scheduling an inspection with a company that specializes in this service. The contractors will come to your location, evaluate the lines and paint, and provide you with recommendations about when to restripe your court, how soon it needs to be done, and what you can expect from the process.
Read the rest of this entry »What Routine Asphalt Maintenance Is Required for Newly Sealed Surfaces in Philadelphia, PA?
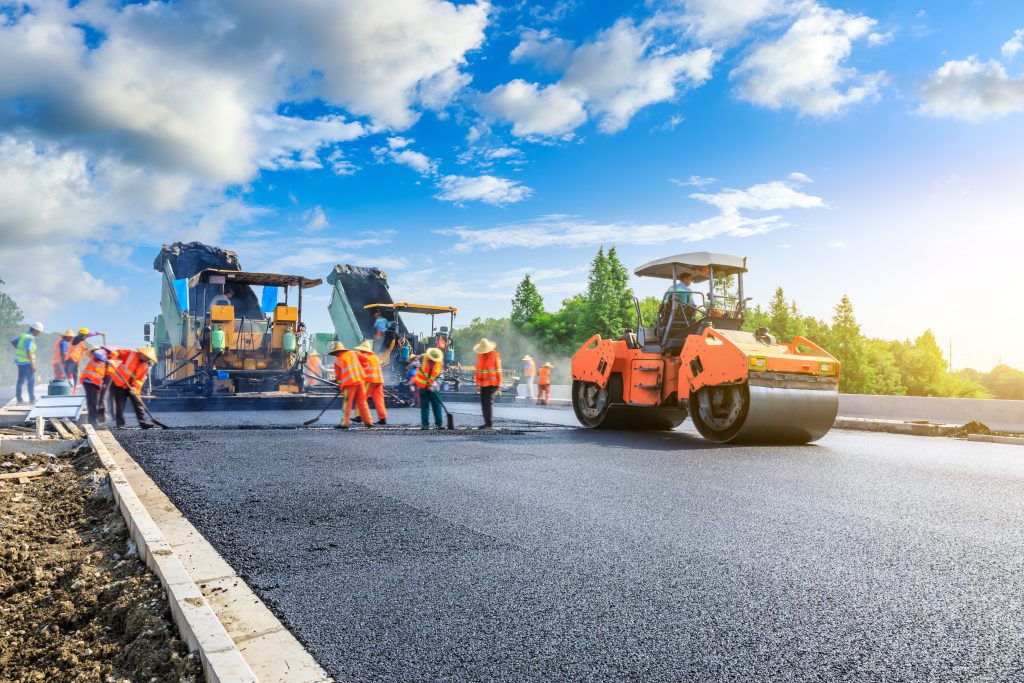
Asphalt is a durable material ideal for walkways, driveways, sports courts, streets, and other surfaces. It’s long-lasting, easy to maintain, and creates the most aesthetic look once installed. Once you schedule asphalt installation in Philadelphia, PA, there are some asphalt maintenance steps you’ll need to follow to extend the longevity of your surface and keep it looking and functioning like new long-term.
What Routine Asphalt Maintenance Is Required for Newly Sealed Surfaces in Philadelphia, PA?
Immediate Aftercare
As soon as your asphalt surface is installed, it needs time to cure so that it hardens properly. Any type of interference with the curing process can impact the results, cause issues sooner than normal, and require costly repair.
Immediately following asphalt installation, you may walk on the surface, but you’ll need to allow 24 to 48 hours after paving before driving on the surface. Following these instructions will prevent tire marks and any other damage to the new asphalt surface.
Read the rest of this entry »
Sports teams, weekend warriors, families, and friend groups gather at sports courts to expend energy, compete, and build community, making them staples in the community. Before installing a sports court in Philadelphia, PA, find a company with experience in sport court surfacing that knows the best materials to use to ensure that the court holds up in every season, lasts for years to come, and brings enjoyment to everyone who sets foot on its surface.
Read the rest of this entry »Prevention is better than cure, and it can save you money too. The longer your asphalt surface is kept in good order, the less likely you are to be stung by sudden repair costs. At PowerSurge Plus in Philadelphia, PA, we understand that asphalt maintenance is key to ensuring that your paved areas survive Pennsylvania’s warm summers and harsh winters.
How Can Proper Asphalt Maintenance Reduce Long-Term Repair Costs in Philadelphia, PA?
Maintaining your asphalt surfaces is not usually a costly task. With a combination of regular inspection, preventative maintenance, and early detection of issues, you should be able to make your asphalt last a long time.
It Prevents Damage
Maintenance doesn’t just mean repairing problems when they are found. Preventative maintenance is a key part of what reduces your long-term repair costs. One preventative maintenance treatment option is seal coating, which is applied in a layer to the surface of the asphalt. This acts as a barrier to protect the surface from moisture penetration, UV rays, salt, and chemicals, all of which can cause the pavement to wear out or crack more quickly. It only needs to be done every 2-3 years, but can significantly lengthen the lifespan of the asphalt, reducing your repair costs and saving you money.
Read the rest of this entry »Choosing the right material for asphalt repair in a cold climate requires careful consideration of temperature fluctuations, freeze-thaw cycles, and moisture levels. Philadelphia experiences harsh winters, where snow, ice, and freezing temperatures can severely damage asphalt. To ensure effective and long-lasting repairs, it’s important to pick the right asphalt material. With Power Surge Plus in Philadelphia, PA, you can be sure that we’ll make the right repair for the situation.
How To Choose the Right Material for Cold Climate Asphalt Repair
Cold Mix Asphalt
For a quick fix during the winter months, cold mix asphalt is often the best choice. It is specifically designed to be used in cold weather conditions when hot mix asphalt is unavailable or impractical. Cold mix asphalt contains additives that keep it pliable and easy to work with at lower temperatures, allowing it to bond well even in freezing weather. It can be applied in wet or snowy conditions, making it a good option for emergency repairs, especially to potholes, which are common in Philadelphia’s freeze-thaw cycle.
Read the rest of this entry »Asphalt is popular for roads, driveways, and other surfaces because it’s smooth, safe, long-lasting, and low maintenance. However, even though asphalt is durable, it can sustain damage due to environmental factors, overuse, and normal wear and tear. If you need to schedule asphalt patchwork in Philadelphia, PA, and want to ensure that the new asphalt blends with the existing asphalt, you’ll achieve the best results when you choose a company skilled and experienced in asphalt maintenance and repair.

How To Ensure Patch Work in Philadelphia, PA, Blends Seamlessly With Existing Asphalt
Asphalt patching is a repair service designed to eliminate asphalt damage and signs of pavement distress. It’s an effective solution for some of the most common asphalt issues, including alligator cracking, potholes, partial base failure, and other forms of damage. If your asphalt surface needs patching, the best way to ensure a seamless and flawless finish is by choosing a company with a team of professionals experienced in asphalt repair.
The right company will employ specialists who know how to replace the damaged areas with new asphalt without detracting from the pavement aesthetics or making the patch job look obvious or unprofessional. They’ll also know what products to use to strengthen the pavement and ensure a flawless look and feel.
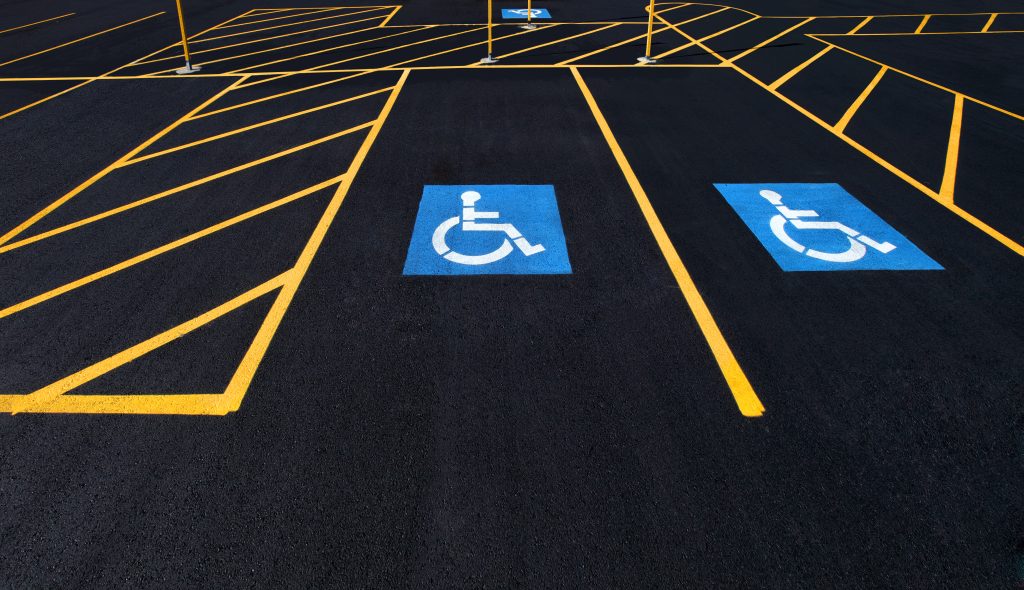
Read the rest of this entry »How Often Should Parking Lot Lines in Philadelphia, PA, Be Repainted for Optimal Visibility?
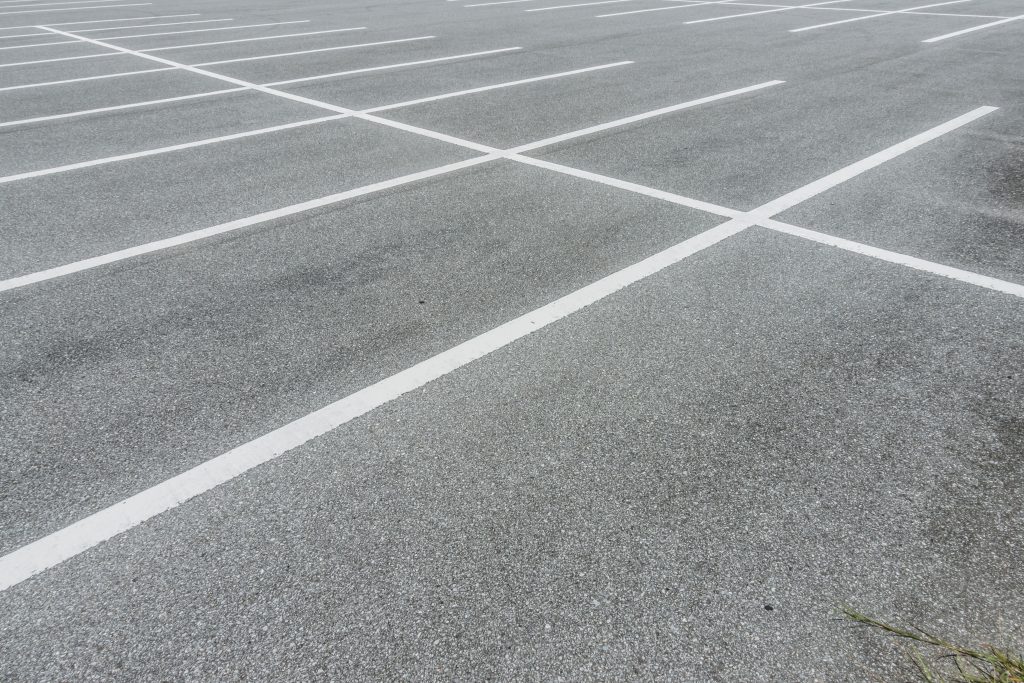
Parking lot lines, stripes, and markings are important because they provide directions for pedestrians and drivers within the lot. Visible lines prevent accidents and poor parking and ensure maximum parking lot efficiency. The easiest way to achieve optimal visibility is to schedule regular repainting and line striping services. That way, you can feel confident that your parking lot stripes, markings, and lines in Philadelphia, PA, are easily seen to ensure the safety of everyone who enters. Here’s guide to how often should parking lot lines be repainted for optimal visibility.
Read the rest of this entry »
If you’re planning a line striping project in Philadelphia, you’ll need professionals who can complete the job and meet all the urban area regulations associated with line striping in Philadelphia. That way, you won’t have to determine the regulations yourself and ensure your contractor adheres to them. When you choose a company known for excellent work and extensive experience, you won’t have to worry about your project falling short of meeting city standards and regulations.
Read the rest of this entry »Connect with us


- June 2026
- May 2026
- April 2026
- March 2026
- January 2026
- December 2025
- October 2025
- September 2025
- June 2025
- May 2025
- April 2025
- March 2025
- February 2025
- January 2025
- December 2024
- October 2024
- September 2024
- August 2024
- July 2024
- June 2024
- May 2024
- April 2023
- December 2022
- November 2022
- October 2022
- September 2022
- August 2022
- July 2022
- June 2022
- May 2022
- April 2022
- March 2022
- February 2022
- January 2022
- December 2021
- November 2021
- October 2021
- September 2021
- August 2021
- July 2021
- June 2021
- May 2021
- April 2021
- March 2021
- February 2021
Archives
Full-Service Residential & Commercial Asphalt Maintenance Contractors Serving PA & The Tri-State Area Since 1998
Proudly Powered By:

Information
- P.O. Box 247,
Montgomeryville, PA 18936
Follow Us:
| Hours | |
|---|---|
| Monday | 9:00AM - 5:00PM |
| Tuesday | 9:00AM - 5:00PM |
| Wednesday | 9:00AM - 5:00PM |
| Thursday | 9:00AM - 5:00PM |
| Friday | 9:00AM - 5:00PM |
| Saturday | 9:00AM - 5:00PM |
| Sunday | Closed |